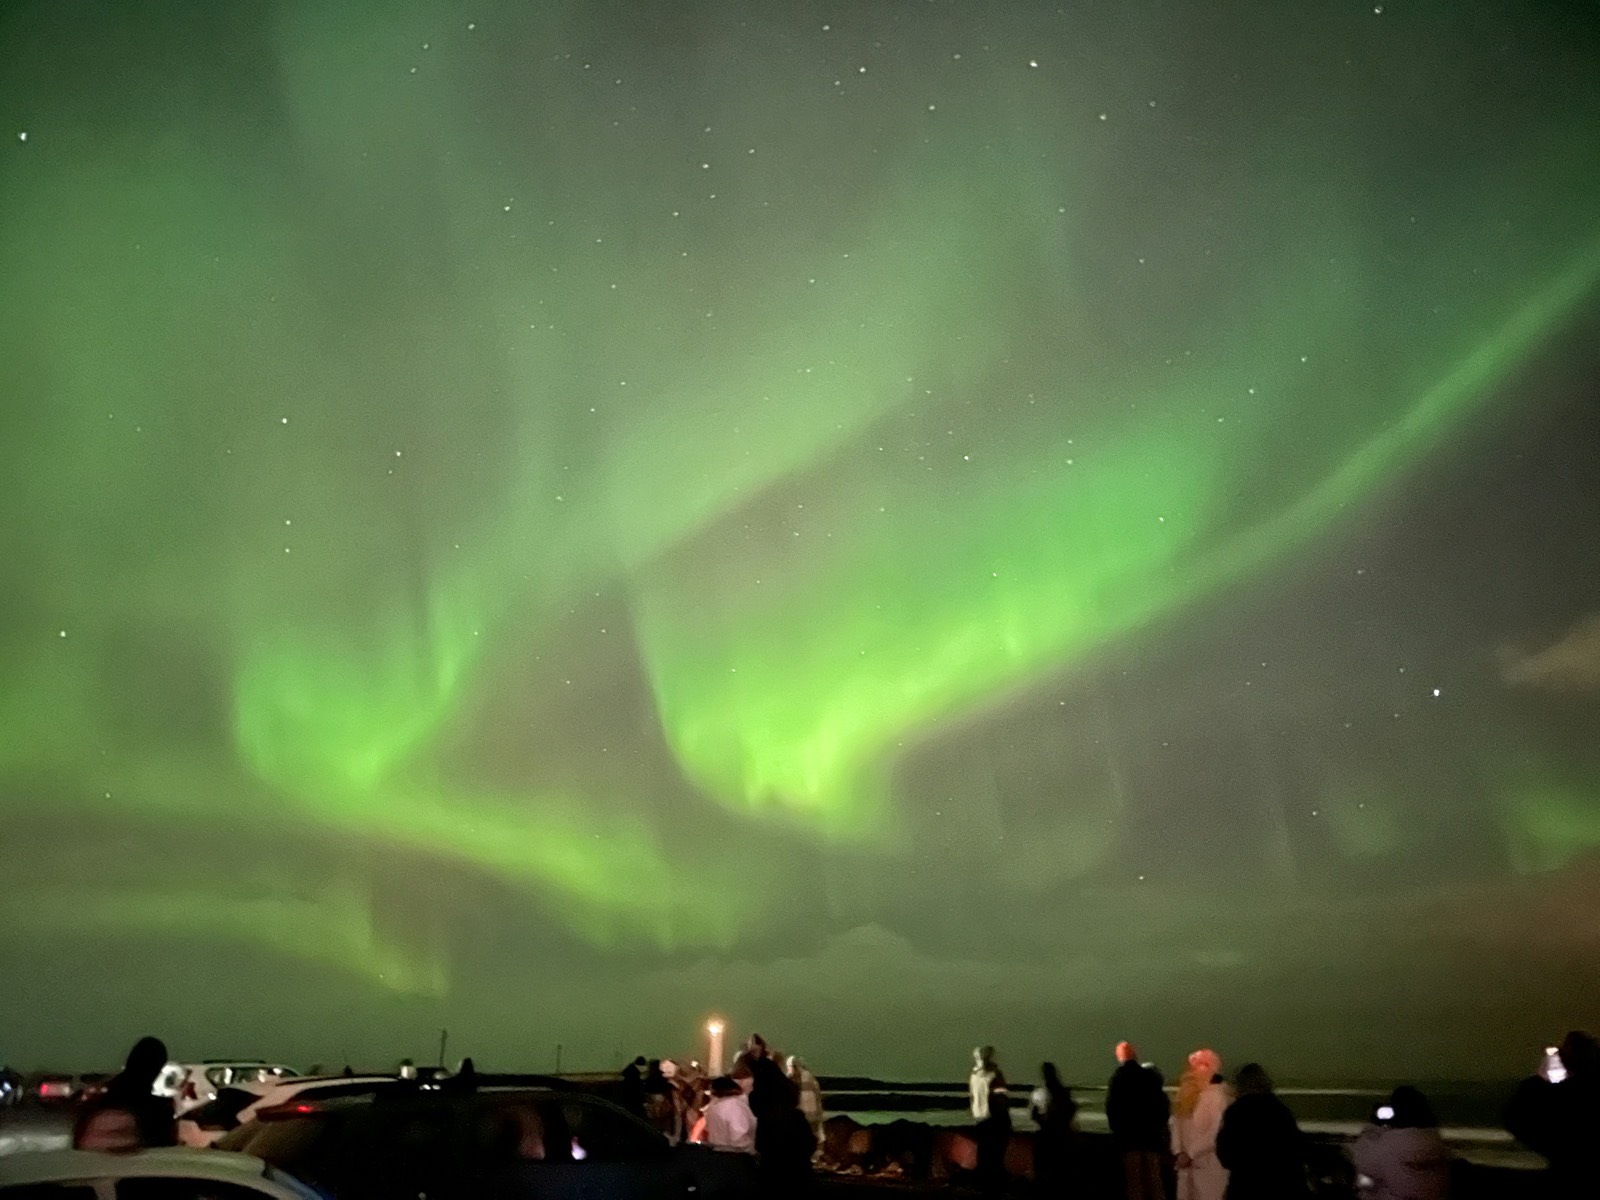
Turn the flash off, rest the phone on something solid, and let night mode take a long exposure. Your phone will show brighter green than your eyes see. That's normal, and it's also a handy way to check whether that pale band is aurora or cloud.
Key takeaways
- Give your eyes at least 20 minutes in the dark away from streetlights, and use a red light rather than a white torch.
- Prop the phone on a tripod, rock or backpack and use a 3-second self-timer, because keeping it still matters more than anything else.
- When the aurora is bright and moving fast, use a shorter exposure, because a long one turns sharp curtains into a smooth glow.
- Cold drains batteries, so keep the phone in an inside pocket between shots and seal it in a bag before going indoors.
Why the phone sees more than you do
In short At aurora brightness your eyes rely mostly on rods, which can't see colour, while the camera keeps its shutter open for seconds and builds up the colour.
Your eyes
Two kinds of light sensor
- Cones see colour but need plenty of light
- Rods work in near-darkness but can't see colour
- At aurora brightness you're mostly seeing with rods, so a typical display looks like a pale grey or silvery band that moves
- They win on movement, which a long exposure smears away
The camera
No such problem
- It keeps the shutter open for seconds, not a fraction of a second, and piles up every bit of light
- The green from oxygen, and sometimes the red and pink, build into strong colour that nobody standing beside it saw
- It wins on colour
Both views are true. How much colour you see depends on how bright the display is.
What you see, and what the phone sees
In short On faint, common displays your eyes see a pale grey or grey-white band while the phone shows green; only on the good nights do your eyes see unmistakable green.
| Brightness (IBC scale) | Looks like | To your eyes | On the phone | How often |
|---|---|---|---|---|
| I | The Milky Way | A pale grey band, can pass for cloud | Clearly green | Common |
| II | Thin moonlit cloud | Grey-white, a hint of green | Vivid green | Common on active nights |
| III | Moonlit cumulus cloud | Unmistakably green, with shape and motion | Green with pink or magenta edges | The good nights |
| IV | As bright as the full moon; casts shadows | Strong colour, the whole sky moving | Spectacular | Very rare |
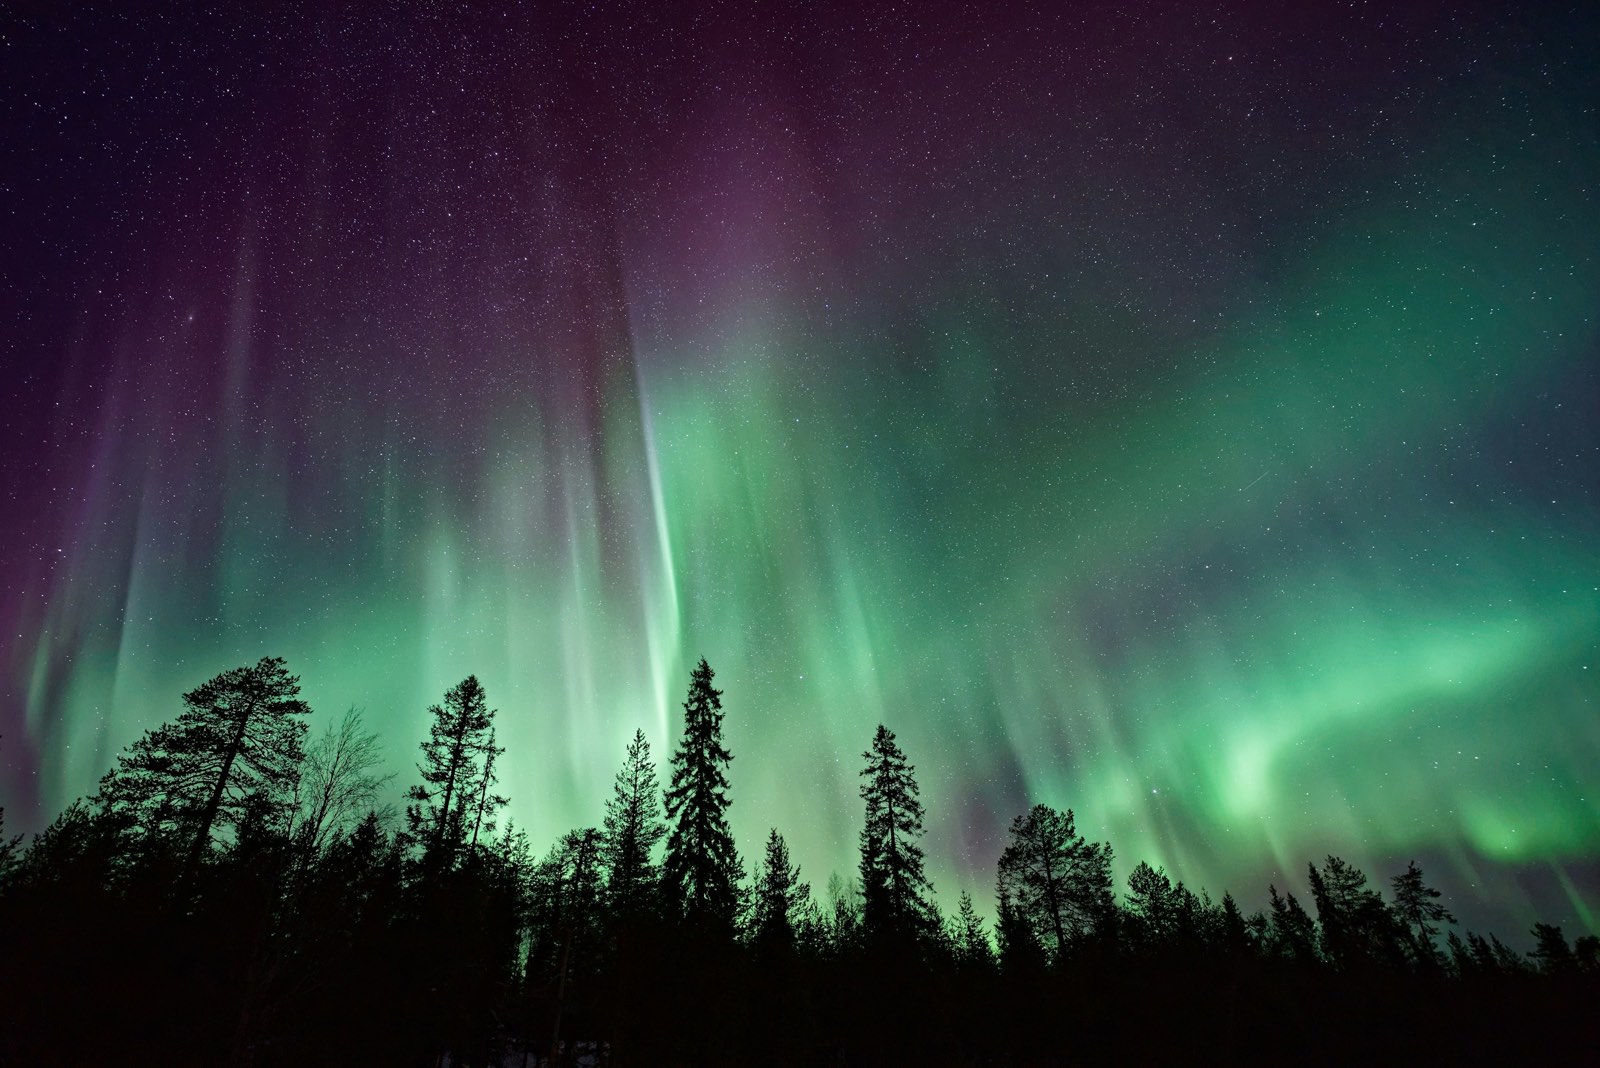
Step by step, on any phone
In short Get away from lights, turn the flash off, keep the phone completely still, use night mode, focus on the brightest part and choose the exposure for the night.
Get away from lights, and let your eyes adjust
Streetlights and car headlights wash out the aurora for your eyes and the camera alike. Give your eyes at least 20 minutes in the dark, and use a red light, not a white torch, if you need one.
Turn the flash off
The flash can't reach the sky; it only lights the snow in front of you. On a Google Pixel it also stops the camera's night mode: Google says that when the flash is on, Automatic Night Sight doesn't work.
Keep the phone completely still
This matters more than anything else. Use a small tripod, or prop the phone against a rock, a backpack or a car roof. Google's advice for night-sky shots: prop it on a steady surface or tripod, don't hold it, and in wind, move it closer to the ground or shield it. A 3-second self-timer stops your finger shaking the shot.
Use night mode
On iPhone and Pixel it turns on by itself in low light. Press the shutter and hold still until the capture finishes. The phone's own steps are below.
Point it at the brightest part
If the result is soft, tap on the brightest part of the aurora, or a bright star, before you shoot, so the phone isn't trying to focus on darkness. Include some foreground: a tree line, a cabin, a person. It gives the sky scale.
Pick the exposure for the night
A longer exposure gives a brighter picture. But when the aurora is bright and moving fast, a long exposure turns sharp curtains into a smooth glow. On those nights, a shorter exposure keeps the shapes.
Film it too
A real-time video is the closest thing to what your eyes saw, because a video frame can't be a long exposure. Time-lapse does the opposite: it squeezes an hour of slow drift into seconds of dancing.
Look after the phone in the cold
Cold drains batteries fast. Keep the phone in an inside pocket between shots. Before you go back indoors, put it in a sealed bag so the lens doesn't fog as it warms.
On an iPhone
In short Night mode turns on automatically in low light; you can choose the exposure through Camera Controls, then hold the iPhone still or use a tripod.
Apple's own instructions, for iPhone models that support Night mode:
- It switches on by itself. “In low-light situations, Night mode turns on automatically.” Tap the Night mode button at the top of the screen to turn it off and on.
- You can choose the exposure. Tap the Camera Controls button, then Night Mode, and pick from the exposure options offered. Apple says “your selection is saved for your next Night mode photo.”
- Hold still while it shoots. Tap the shutter, then hold the iPhone still. If crosshairs appear, Apple says the phone “has detected movement”; line them up to reduce blur.
- Use a tripod. Apple's own tip: “Use a tripod for even more detailed Night mode photos.”
On a Google Pixel
In short Use Night Sight with the flash off, and set the phone on a stand or tripod so it switches to Astrophotography mode by itself.
Google's instructions for Pixel phones:
- Night Sight. In the camera's mode carousel, tap Night Sight, press the shutter, and “hold still for a few seconds while your device captures the photo.” In low light it also turns on automatically in Photo mode, as long as the flash is off.
- Astrophotography. Open Night Sight, point the phone at the sky and set it down on a stand or tripod. Google: “Do not use your hands.” When the phone is still, the shutter switches to Astrophotography mode by itself and shows a countdown. Keep it still until it finishes.
- Without a tripod. In Night Sight's controls, slide to Astro. The phone starts a 5-second timer so you can set it down facing the sky.
Other Android phones
Many have a night mode of their own; check your phone maker's help pages. The same rules apply: flash off, phone still, and give it time.

With a camera: the basics
A camera with manual controls and a wide lens gives you more control, but the same three rules apply: a tripod, no flash, and a long enough exposure. The trade-off is always the same.
Longer shutter, higher ISO
- Pulls in more light and colour
- Blurs movement
Shorter shutter
- Keeps the curtain shapes
- Needs a brighter aurora or a higher ISO
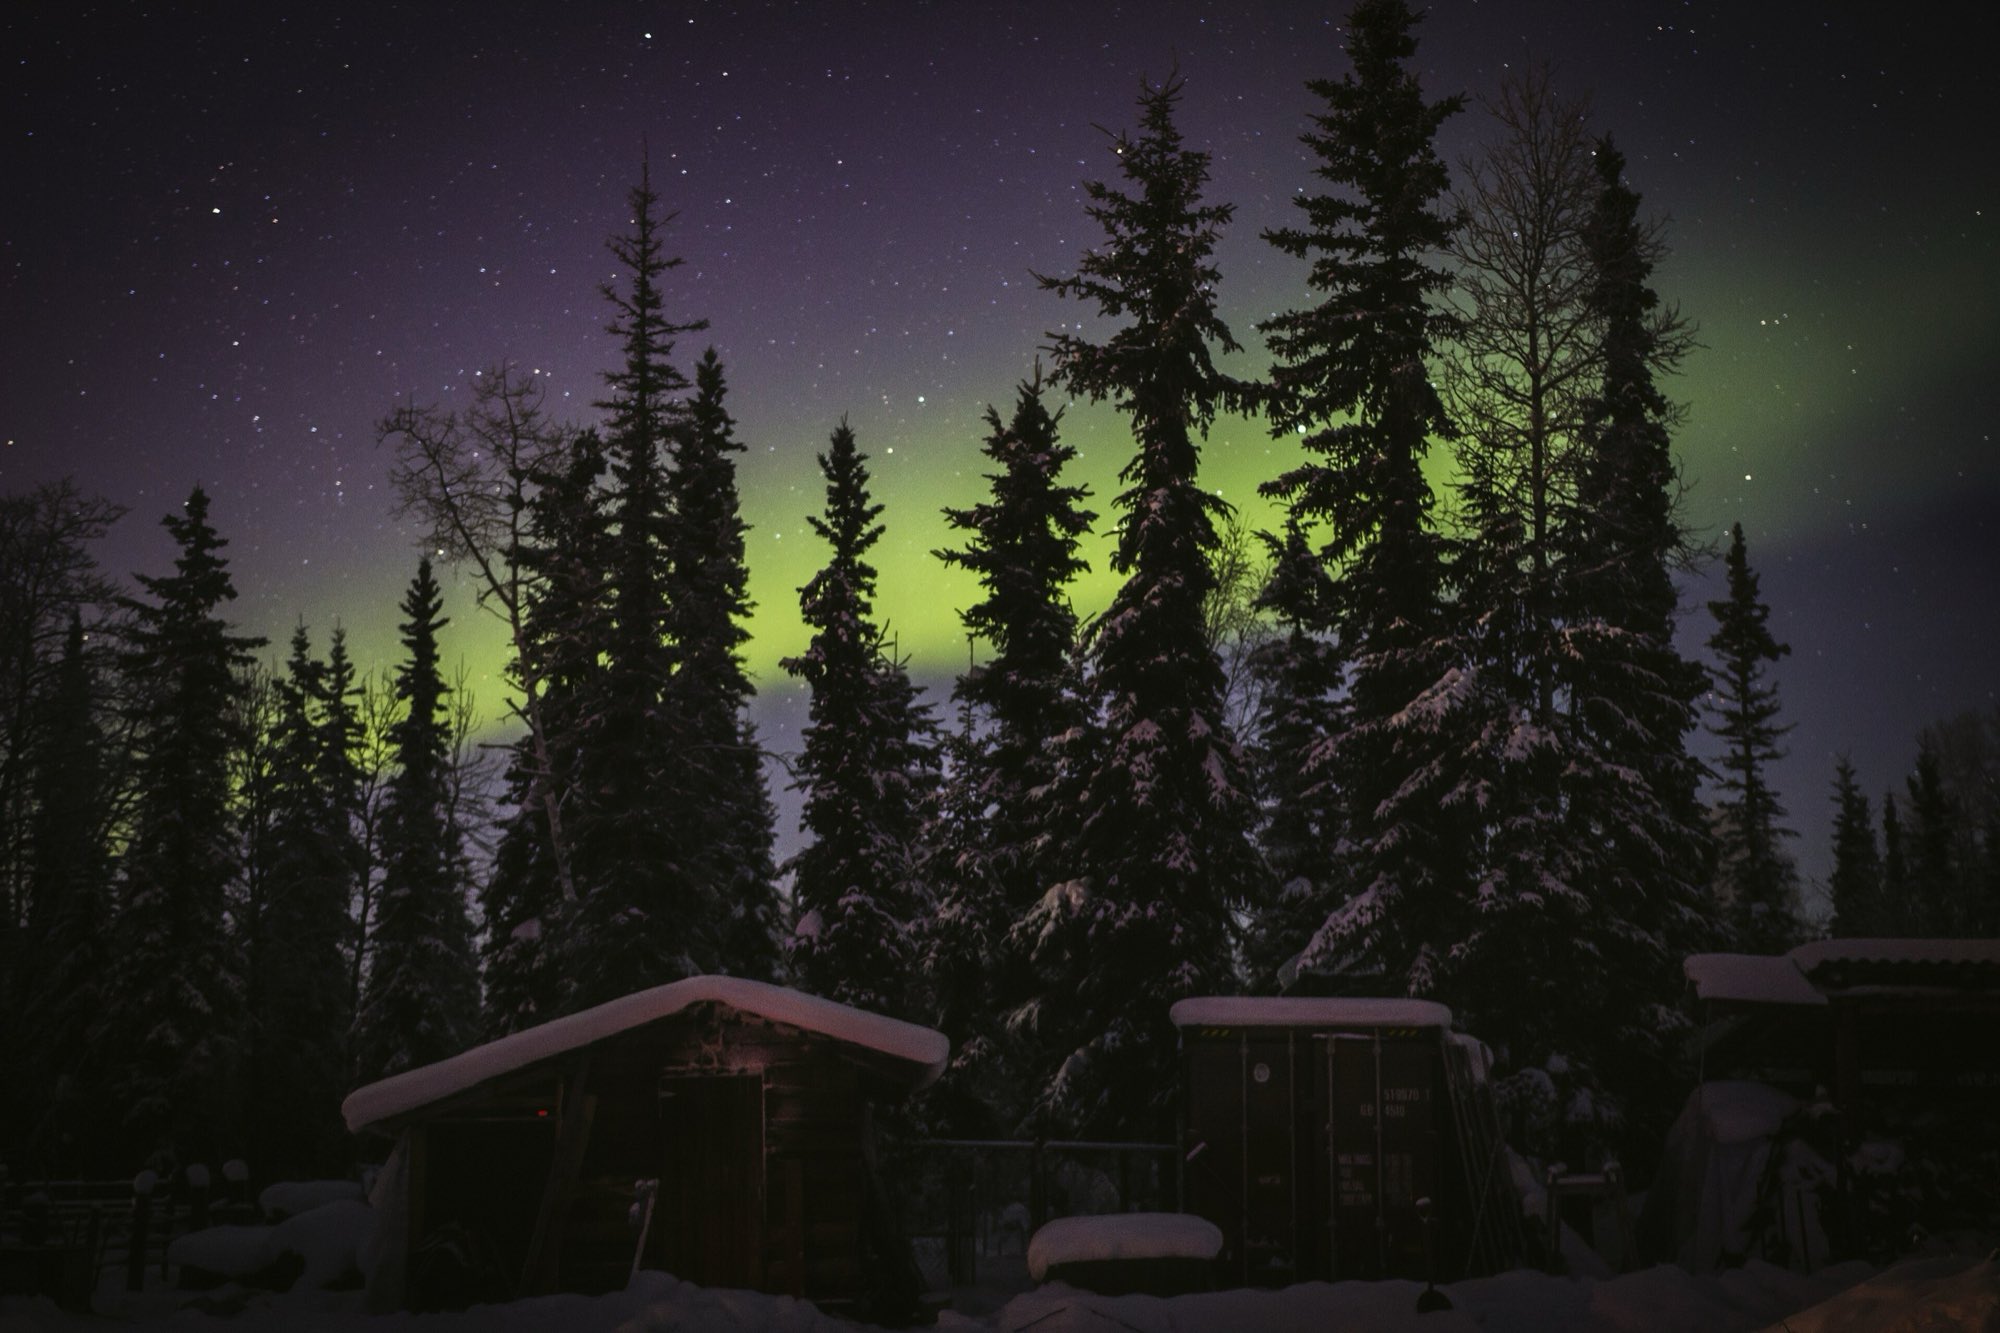
The aurora photos we catalogued while sourcing images for this site show the range.
| Where | Exposure | ISO | What it shows |
|---|---|---|---|
| Abisko | 2-second | 6400 | Keeps the curtain structure sharp |
| Tromsø | 4-second | 400 | Worked because the display itself was bright |
| Kirkjufell, Iceland | 15-second | 8000 | The other end: the most stretched picture in the set, far brighter than the eye would see |
Why every aurora photo on this site shows its shutter speed. A 15-second exposure can make a faint grey arc look like a green firestorm. So under each aurora photo we print how long the shutter was open. The shorter it is, the closer the picture is to what you'd see with your own eyes.
Photographing the aurora on a phone: FAQs
Can an iPhone photograph the northern lights?
Yes. On iPhones with Night mode, it turns on automatically in low light. Turn the flash off, keep the phone still, ideally on a tripod, and let it finish the exposure.
Why do the northern lights look greener on my phone than in real life?
Your eyes see mostly with colour-blind rod cells in the dark, while the phone collects light for several seconds. A faint aurora that looks grey to you shows clearly green on the phone.
Can you see the northern lights with the naked eye?
Yes. Faint displays look pale grey or grey-green and can pass for cloud. Brighter ones are clearly green and move. The very brightest, which are rare, show pink and red edges.
Do I need a tripod to photograph the aurora on a phone?
Not strictly, but it helps more than anything else. Propping the phone on a rock, a bag or a car roof works too. Both Apple and Google recommend a tripod for night shots.
Should I use the flash?
No. It can't light the sky, and on a Google Pixel, Automatic Night Sight doesn't work while the flash is on.
Where and when to point the camera
Sources (5)
- Apple Support: take Night mode photos with your iPhone camera (checked 2026-09-23)
- Google Pixel Camera Help: take photos in low light with Night Sight, and Astrophotography (checked 2026-09-23)
- Bureau of Meteorology Space Weather Services: aurora brightness (IBC) (checked 2026-09-17)
- EarthSky: will you see colours in an aurora? (checked 2026-09-17)
- Northern Lights Planner photo research: exposure times from each photo's EXIF data (Wikimedia Commons files, checked 2026-09-17)